

How to Apply Vinyl Decals

STEP 1
Clean the surface where you want to stick your decal, using the included isopropyl alcohol cloth. Allow to air dry

STEP 2
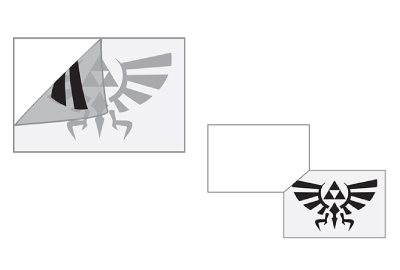
Before application place the whole sticker on a flat surface like a table and rub firmly with a credit card, up and down, side to side.
Flip sticker over and do the same on the other side.
STEP 3
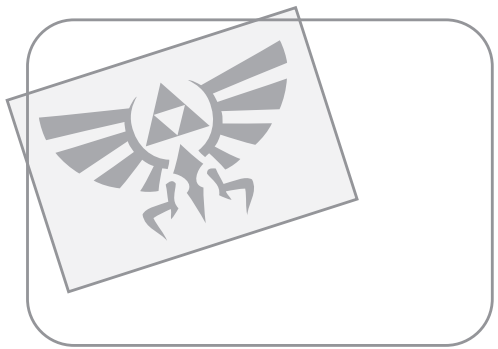
From one corner slowly and carefully peel back the clear transfer tape from the backing, ensuring that the decal adheres to the clear transfer tape.
Be extra careful with parts of the design that are small and delicate. If you are having trouble, go back and repeat Step 2 on those parts
STEP 4
Carefully position the sticker on to the desired surface. Once the decal sticks it will be nearly impossible to reposition it intact.
Rub the sticker from one side to the other with your hand, to adhere it down and eliminate any air bubbles.
Do not remove the transfer tape yet.
STEP 5
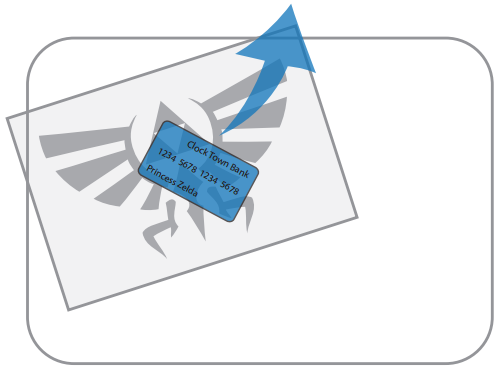
Rub the sticker firmly with a credit card, up and down, side to side, to make sure the decal is fully adhered to the surface.
STEP 6
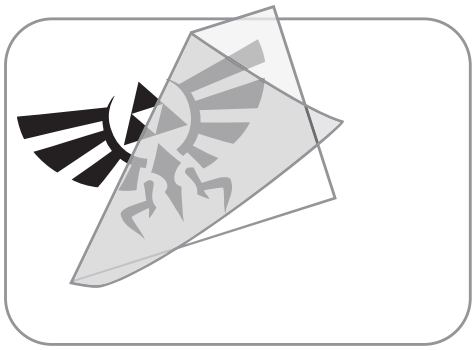
Slowly and carefully peel back the transfer tape from one corner, ensuring that the vinyl decal sticks to the surface and does not remain on the transfer tape.
Be extra careful with small and delicate parts of the design. If you are having trouble, go back and repeat Step 5 on those parts.
STEP 1
Clean the surface where you want to stick your decal, using the included isopropyl alcohol cloth. Allow to air dry.
STEP 2
Before application place the whole sticker on a flat surface like a table and rub firmly with a credit card, up and down, side to side.
Flip sticker over and do the same on the other side.
STEP 3
From one corner slowly and carefully peel back the clear transfer tape from the backing, ensuring that the decal adheres to the clear transfer tape.
Be extra careful with parts of the design that are small and delicate. If you are having trouble, go back and repeat Step 2 on those parts
STEP 4
Carefully position the sticker on to the desired surface. Once the decal sticks it will be nearly impossible to reposition it intact.
Rub the sticker from one side to the other with your hand, to adhere it down and eliminate any air bubbles.
Do not remove the transfer tape yet.
STEP 5
Rub the sticker firmly with a credit card, up and down, side to side, to make sure the decal is fully adhered to the surface.
STEP 6
Slowly and carefully peel back the transfer tape from one corner, ensuring that the vinyl decal sticks to the surface and does not remain on the transfer tape.
Be extra careful with small and delicate parts of the design. If you are having trouble, go back and repeat Step 5 on those parts.

 Sea Life